
This mango sticky rice onigiri recipe came to me on a random afternoon while snacking on a konbini-style onigiri. As I bit into that familiar triangle of rice and filling, I thought, what if onigiri could be sweet instead of savory?
Immediately, I thought of mango sticky rice, one of my all-time favorite desserts. I’ve loved it since childhood—chewy sticky rice soaked in creamy coconut milk, paired with juicy ripe mango. And I thought, why not turn it into an onigiri?
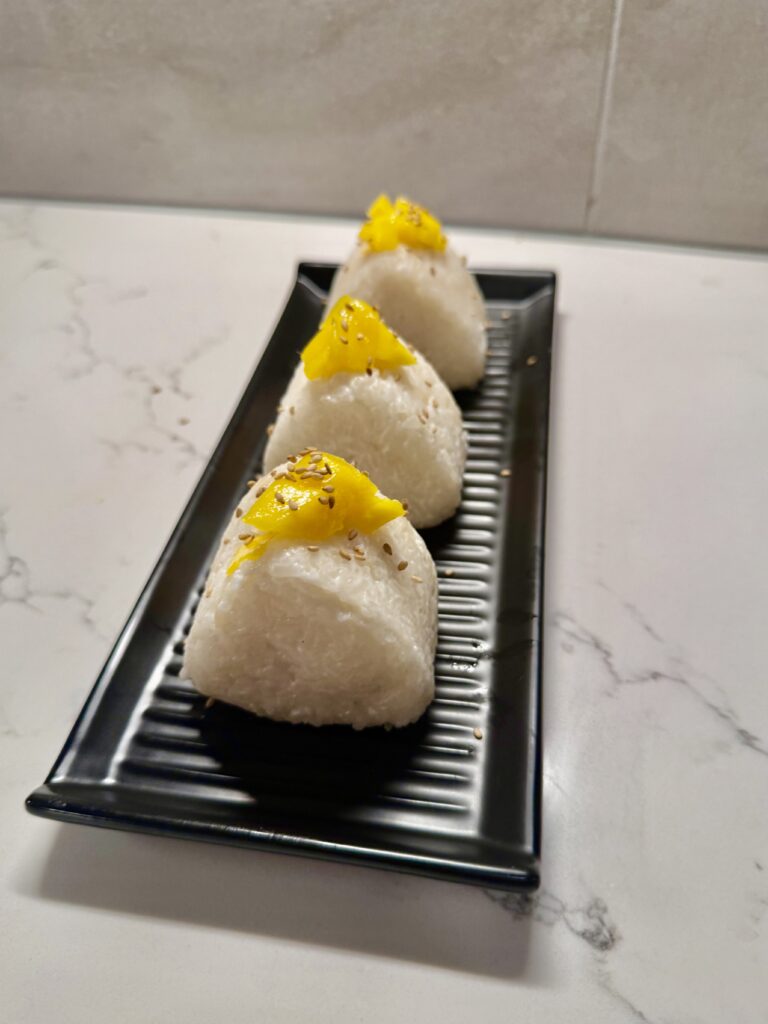
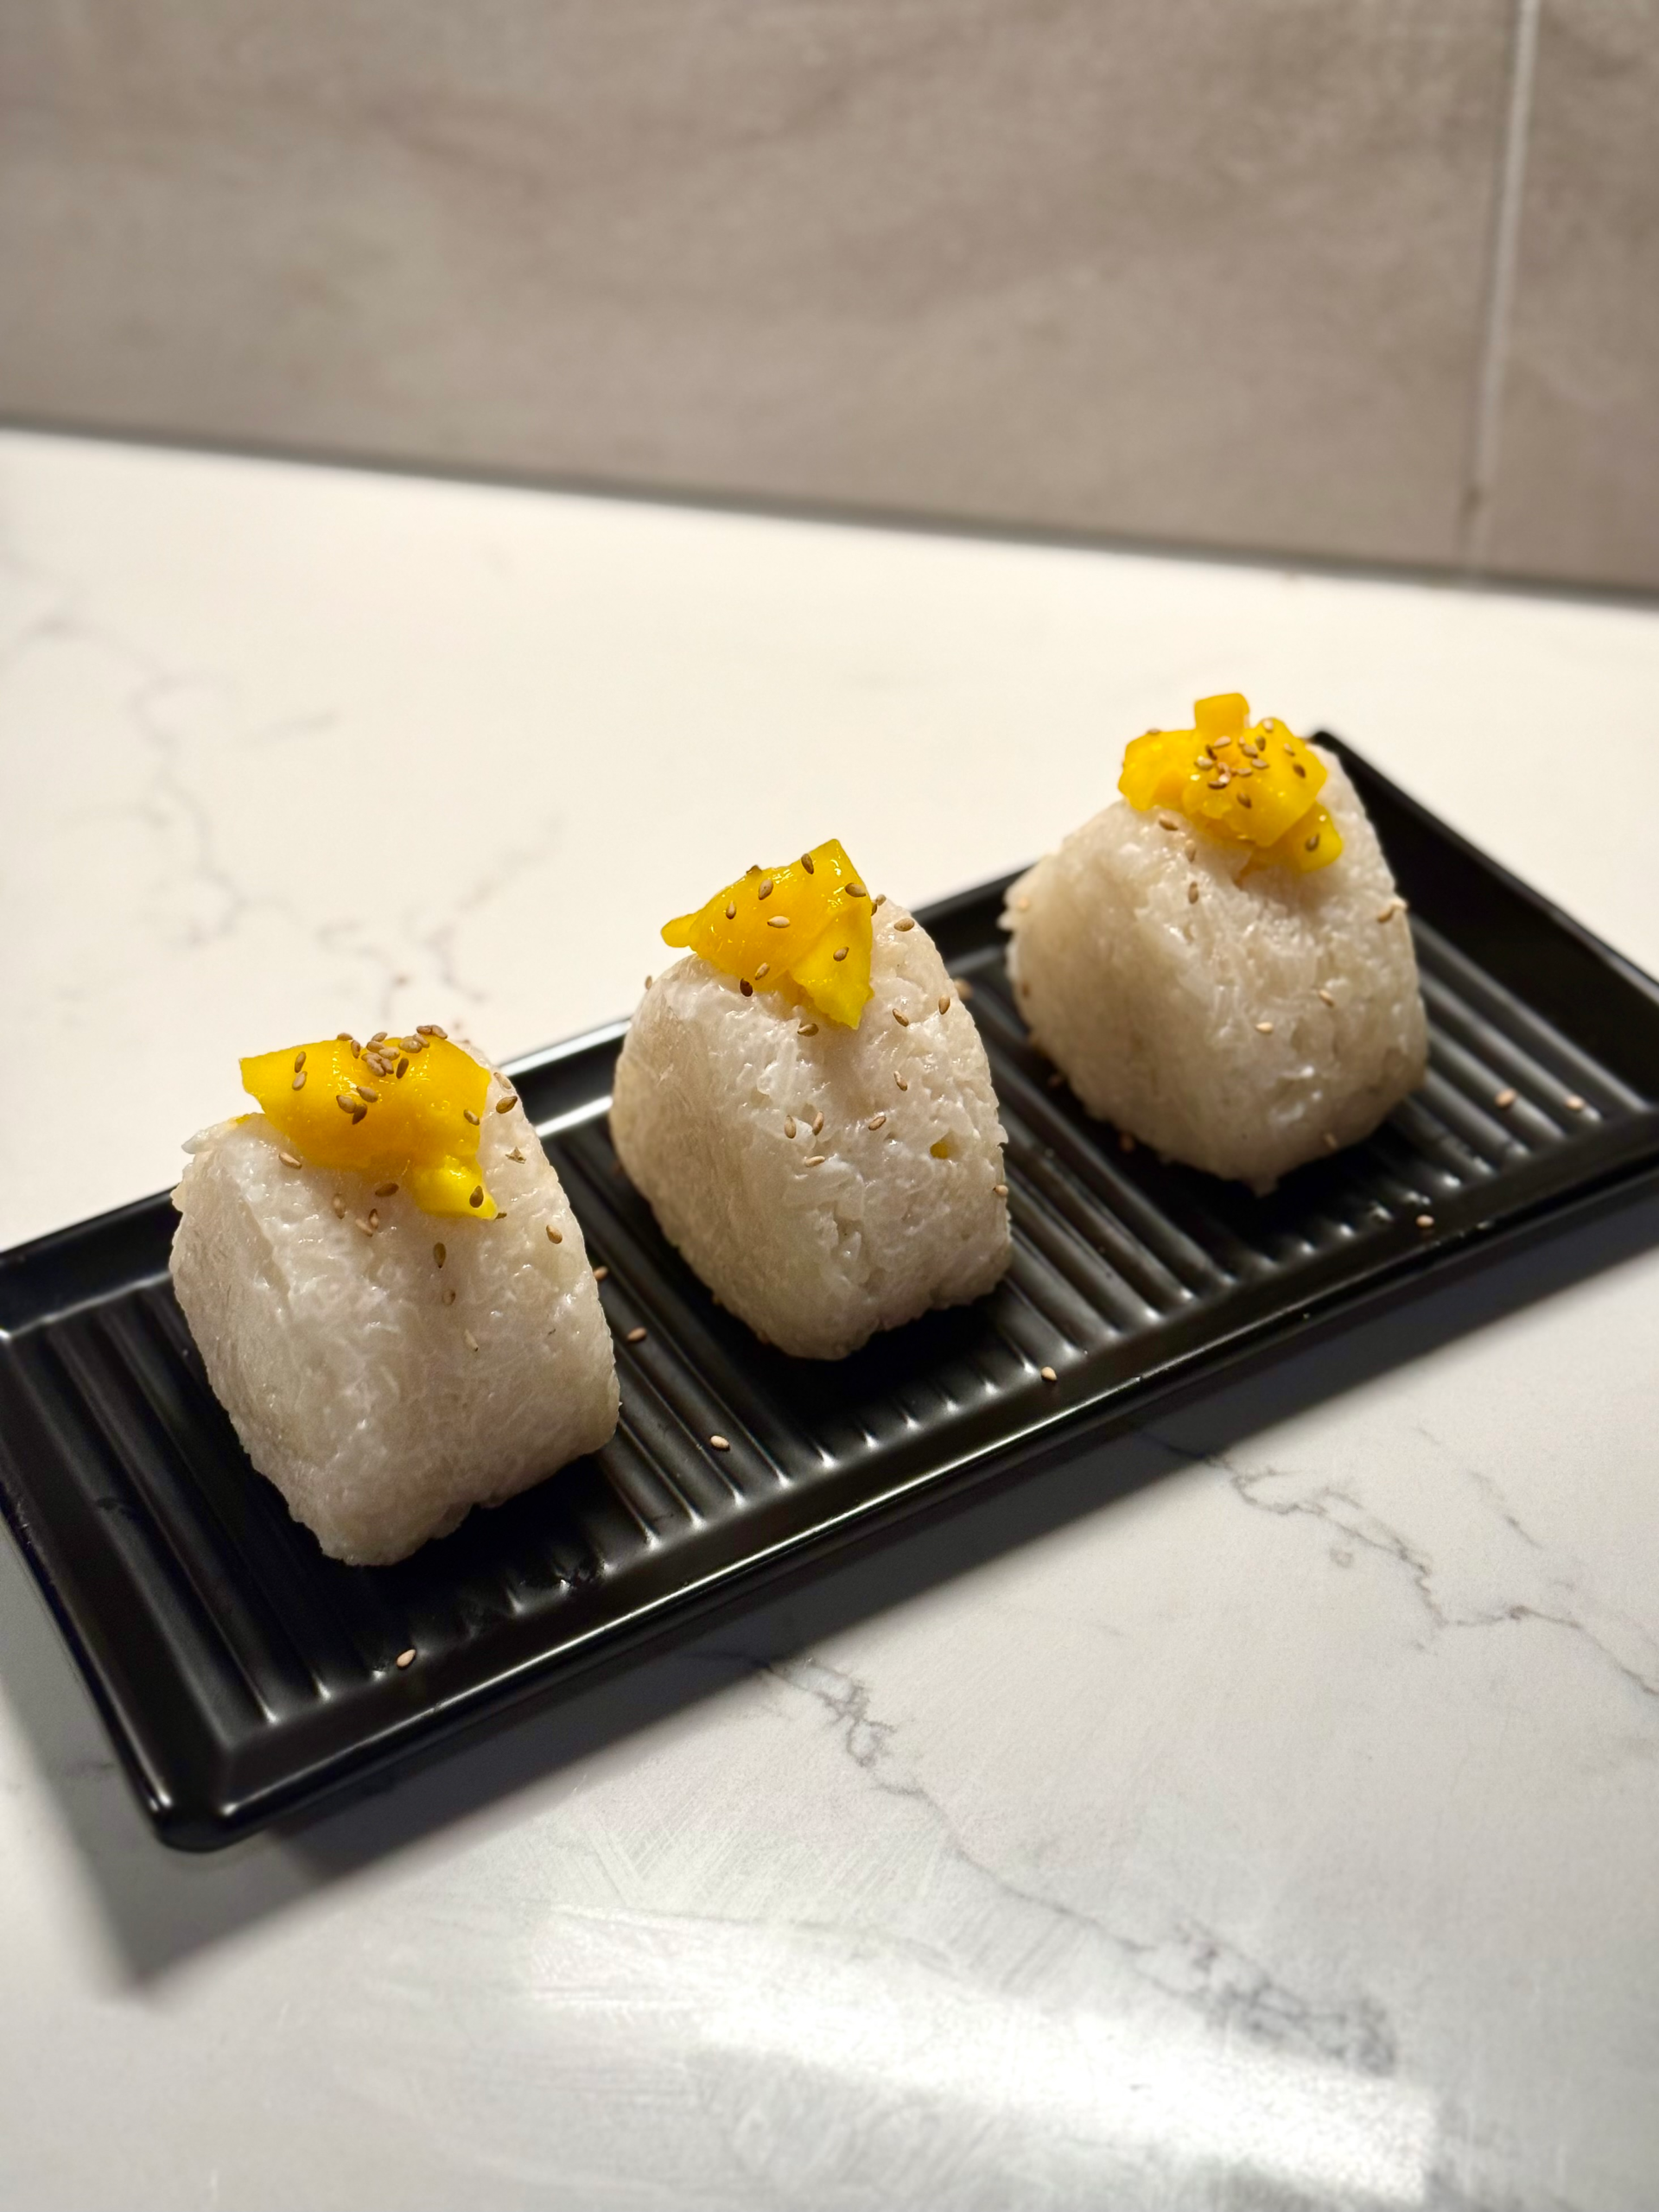
The result was so much better than I expected. It’s soft, creamy, and sticky enough to hold its shape, yet still melts in your mouth. Whether you’re making it for a summer picnic, potluck, or just for fun, this dessert is bound to surprise and delight.
Making the Sticky Rice
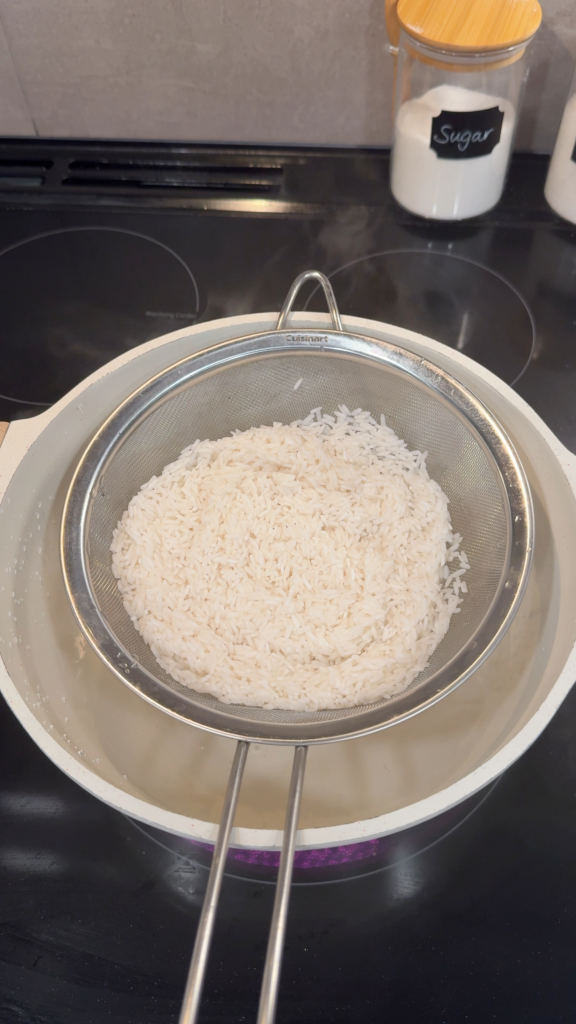
Sticky rice requires a unique steaming process to be cooked, unlike other types of rice. No steamer? No worries. I actually couldn’t find my steamer when I was making this so I ended up using a mesh sieve over a pot. It looks something like the following:
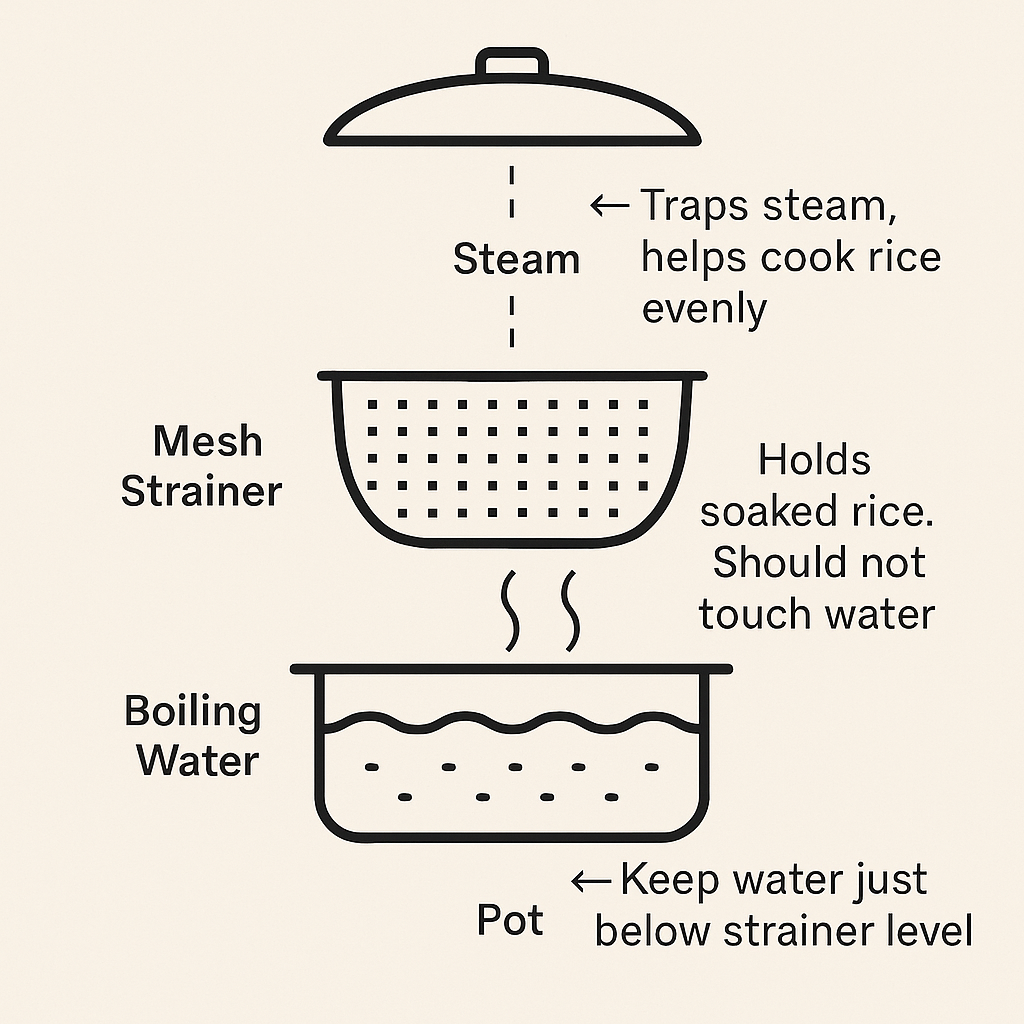
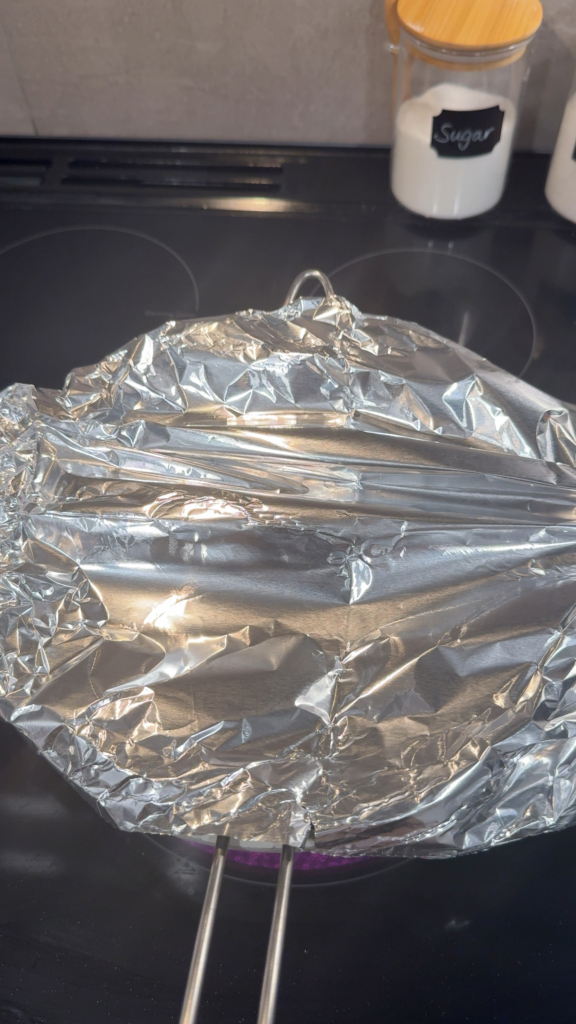
It is important to ensure that the water doesn’t touch the strainer/rice when boiling. Having either a lid or aluminum foil to seal in the steam will the rice is being cooked is extremely important as well. Here is a visual of what my set up ended up looking like:
How to Shape the Onigiri
Shaping the onigiri might seem daunting, but it is a lot easier than it seems. If you want to get that traditional triangular onigiri konbini shape, the easiest way is to use an onigiri mold (the one that I purchased is here, if you are interested).
To shape the onigiri using a mold, follow these steps:
- Line the mold with plastic wrap (optional but helpful for clean removal)
This prevents sticking and makes it easy to lift the onigiri out. I didn’t do this, but I would definitely recommend it especially if it is your first time making onigiri. - Add a layer of rice
Spoon a thin layer (1–2 tbsp) of rice into the bottom of the mold and press it down lightly. - Add the mango filling
Place a small spoonful of mango into the center, keeping it slightly away from the edges. - Top with more rice
Add another layer of rice to cover the filling. It’s okay if it’s slightly domed. - Press and shape
Use the mold’s top piece to press down firmly but gently to shape the onigiri. Hold for a few seconds, then remove the top and lift the rice ball out by pulling the plastic wrap or gently popping it out. - Trim or wrap
You can trim the edges for a cleaner shape, or wrap the bottom with parchment or banana leaf for aesthetics and easy handling.


If you don’t have a mold, no problem! The same results can be achieved, but with just a little bit of practice. Here are the steps to follow to make the onigiri without a mold:
- Line the mold with plastic wrap (optional but helpful for clean removal)
This prevents sticking and makes it easy to lift the onigiri out. - Add a layer of rice
Spoon a thin layer (1–2 tbsp) of rice into the bottom of the mold and press it down lightly. - Add the mango filling
Place a small spoonful of mango into the center, keeping it slightly away from the edges. - Top with more rice
Add another layer of rice to cover the filling. It’s okay if it’s slightly domed. - Press and shape
Use the mold’s top piece to press down firmly but gently to shape the onigiri. Hold for a few seconds, then remove the top and lift the rice ball out by pulling the plastic wrap or gently popping it out. - Trim or wrap
You can trim the edges for a cleaner shape, or wrap the bottom with parchment or banana leaf for aesthetics and easy handling.
💡 Other Tips & Tricks
- Don’t skip the soak — it’s essential for that authentic chewy sticky rice texture.
- If you don’t have a steamer, use a mesh sieve over a pot (see visual guide below).
- Want a toasted edge? Use a kitchen torch to caramelize the outside slightly.
- Chill before serving if transporting or packing for lunch.
- You can prep the rice and mango separately the night before and shape them just before serving.
- Because this onigiri contains fresh mango and coconut milk, it’s best enjoyed fresh or within a short time window. I wouldn’t recommend storing this in the fridge for longer than 24 hours.
- Freezing is not recommended. The texture of glutinous rice and fresh mango changes after thawing, becoming mushy or grainy.
Video Tutorial
Checkout my instagram video below as a visual guide for this recipe!
Mango Sticky Rice Onigiri Recipe
Ingredients
Equipment
Method
- Rinse the glutinous rice 2–3 times until the water runs mostly clear. Then soak in clean water for at least 1 hour or up to overnight for best results.
- Drain the soaked rice and place it in a fine mesh sieve or bamboo steamer over a pot of boiling water. Make sure the rice doesn’t touch the water. Cover and steam for 20–25 minutes, stirring or flipping halfway through, until the rice is fully cooked and translucent.

- While the rice is steaming, combine the coconut milk, sugar, and salt in a small saucepan. Warm over medium heat until it begins to steam—don’t let it boil. For a thicker sauce that helps bind the rice, you can stir in 1 tsp cornstarch (dissolved in a tablespoon of coconut milk) at this stage. Let it cool slightly.
- Place the hot steamed rice in a mixing bowl. Gently stir in about 2/3 of the coconut sauce, reserving the rest for drizzling or dipping. Cover and let the rice sit for 15 minutes so it becomes sticky and absorbs the flavor.
- Peel and dice the mango into small cubes. Optionally, toss with 1–2 tsp of coconut condensed milk or coconut cream for added richness.
- You have two options here (I have a visual guide posted above):
- Using an Onigiri Mold: Lightly wet or line your mold with plastic wrap. Add a scoop of coconut sticky rice, press down lightly, add mango filling in the center, and top with more rice. Press firmly to shape, then release.
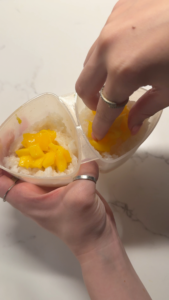
- Without a Mold (Hand Method): Lightly wet your hands or use plastic wrap to prevent sticking. Scoop about 2 tablespoons of rice, flatten it into a disc, spoon some mango in the center, then top with a bit more rice. Gently press into a triangle or round shape, compressing it just enough to hold its form.
- Place your shaped onigiri in the fridge for 15–30 minutes to help firm them up—especially useful if you’re serving them later or packing for a picnic.
- Before serving, drizzle with the reserved coconut sauce, sprinkle with toasted sesame seeds, coconut flakes, or a pinch of flaky salt. For presentation and easy handling, wrap the base of each onigiri in banana leaf or parchment paper.
Nutrition
Notes
- Don’t skip the soak — it’s essential for that authentic chewy sticky rice texture.
- If you don’t have a steamer, use a mesh sieve over a pot (see visual guide below).
- Want a toasted edge? Use a kitchen torch to caramelize the outside slightly.
- Chill before serving if transporting or packing for lunch.
- You can prep the rice and mango separately the night before and shape them just before serving.
- Because this onigiri contains fresh mango and coconut milk, it’s best enjoyed fresh or within a short time window. I wouldn’t recommend storing this in the fridge for longer than 24 hours.
- Freezing is not recommended. The texture of glutinous rice and fresh mango changes after thawing, becoming mushy or grainy.


")

Comments
This is such a genius idea!! Making this tonight. Thank you girl!
Thank you for trying out my recipe 🤍